- Cloud File Manager
- Cloud Videos
- Cloud Screen Settings
- Client Installation Guide
- Accessing the Cloud Workstation
Uploading a Model Using Filemanager
If you wish to access an existing model from your SDS2 cloud account, you must first upload the model from your local repository using the secure File Manager. Proceed to the following instructions to upload your model.
File Manager
Using your web browser, access the web portal here: https://www.filemanager.cloud.sds2.com
-
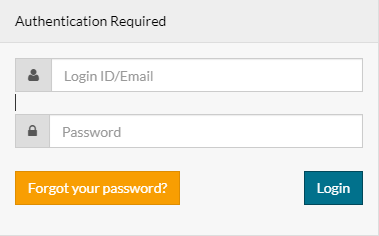
Log in to the File Manager using the credentials provided to you for access to your cloud account.

-
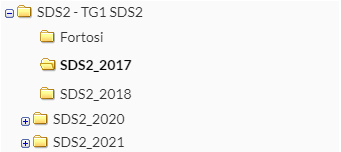
In the left hand window of the File Manager dialog box, you will see the installed versions of SDS2 on the cloud account. Drill down to the version of SDS2 you wish to use, and then the file location where you wish the model uploaded to.

-
-
Select the “Upload” button at the bottom of the File Manager dialog box, and you will be taken to your local pc. Locate the model on your local PC you wish to upload to the cloud and double click to upload a copy of it. It will be placed in the folder on your CLOUD ACCOUNT you selected earlier. You may also drag and drop a file into the dashed box next to the upload button.
 Note: Folders, such as a job, will need to be zipped before uploading to the cloud. It is suggested to pack a SDS2 project before uploading to the cloud.
 -
When you are done uploading files, simply select “Logout” at the top of the File Manager screen to exit.
Cloud Screen Setting
These setting will allow you to set which screen/screens that your Cloud virtual machine is displayed one. With the default Cloud virtual desktop there are a total of two screens that can be displayed, if more then two screens are displayed you will see issues with performance. If you wish to use more then two monitors there are upgrade options available through your sales rep.
-
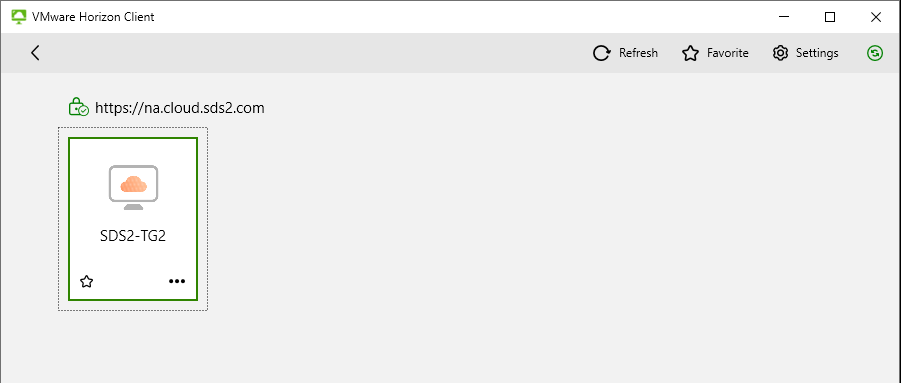
After entering your username and password in the VMware Horizon App, click the settings button in the upper right corner of the screen.

-
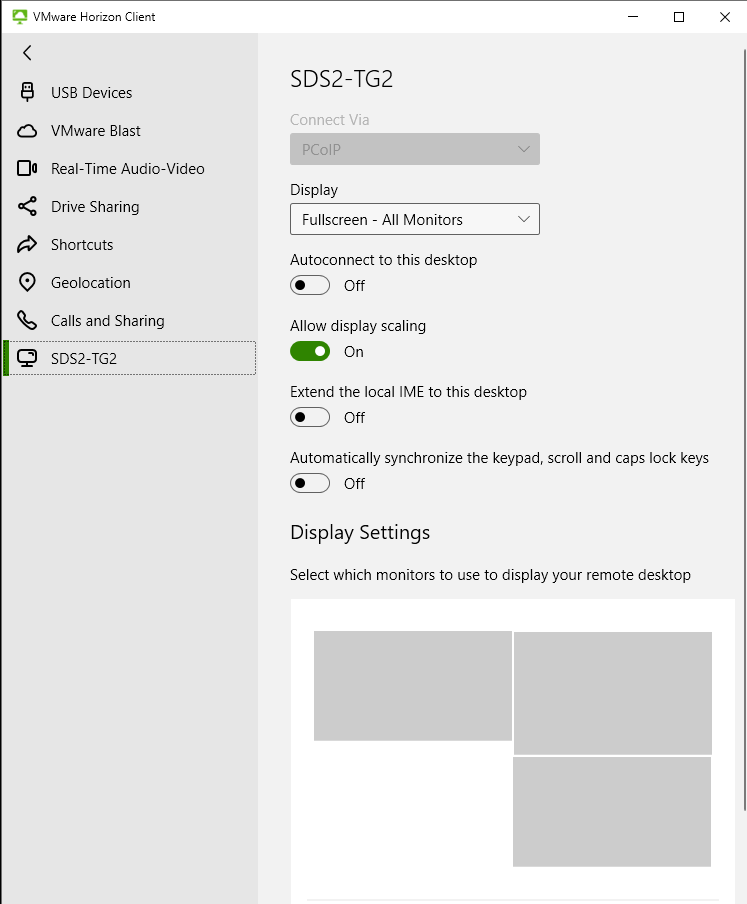
Select the SDS2-E tab on the left menu.
-
With Display set to “All Monitors” , the display settings will show the monitors that are connected. Here you can select which monitor(s) to display SDS2 Cloud on, there may be a limitation on the number of screens if using 4k monitors. When all monitors are gray it will display all monitors, when a screen is selected it will show as green.

Overview
Your cloud desktop may be accessed from virtually any web enabled device; tablet, smart phone, laptop, netbook or personal computer. If you use a PC or laptop, a desktop client application is provided for a streamlined connection to SDS2 Cloud. You may also access SDS2 Cloud using your local PC’s Firefox, Chrome, Safari, or Cloud browser by going to na.cloud.sds2 and selecting Login. Operating systems supported are Mac OS, Linux, and Windows 7/up.
Installing the PC Client
Download the “Cloud Windows Client” and save to your local pc. After downloading the client installer, follow the steps listed below to install your desktop client:
-
Double click on the Cloud Windows Client installer to start the client setup wizard. If your pc asks for permission to make changes to your system, click “Yes” to proceed.
-
Accept the “Agree & Install/Upgrade” to begin the installer.
-
After the installer finishes unpacking, click “Finish” to close the installer.
-
Click “Restart Now” to restart your computer and complete the installation.
-
After your computer restarts, double-click on the green VMWARE HORIZON CLIENT desktop icon.
-
If asked, enter NA.Cloud.SDS2.COM as the Default Connection server.
-
Login using the User Name and Password provided by SDS2.
-
Select the Cloud server (again) if asked.
-
Double click the account icon on the next screen.
-
Your preconfigured Windows 10 Cloud desktop should now be displayed. On the toolbar at the top of the screen, locate the OPTIONS drop-down box and place a checkmark next to AUTOCONNECT TO THIS DESKTOP to connect to this desktop every time you login.
-
Under Programs, select and open the version of SDS2 you wish to run. If you wish to upload one of your own models, please refer to the File Manager instructions provided
-
VERY IMPORTANT: To Log Off your Cloud desktop, navigate to the Windows logo located at the lower left-hand corner of the CLOUD DESKTOP screen and then select “Log Off” [user name assigned]. You will now be logged off the Cloud server and returned to your local desktop.
-
To log back into your Cloud Desktop, simply double-click the VMWARE HORIZON CLIENT desktop icon, enter your User name (if not automatically populated) and Password and click LOGIN. As mentioned in step 12 above, it is important to log off your cloud account properly as it is similar to closing down your PC’s operating system. NEVER use the “X” on the toolbar located at the top of your screen to exit your cloud account. This will improperly close your cloud account and may cause issues the next time you login.
Questions: Please feel free to contact support.
Cloud Client
-
Double-click on the green VMWARE HORIZON CLIENT desktop icon.
-
Login using the User Name and Password provided by SDS2.
-
Select the NA.CLOUD.SDS2.COM (again) if asked. Double click the account icon on the next screen.
-
Your preconfigured customized Windows 10 Cloud desktop should now be displayed. On the toolbar at the top of the screen, locate the OPTIONS drop-down box and place a checkmark next to AUTOCONNECT TO THIS DESKTOP to connect to this desktop the next time you login.
-
Under Programs, select and open the version of SDS2 you wish to run. If you wish to upload one of your own models, please refer to the File Manager Documentation.
-
VERY IMPORTANT: To Log Off your Cloud desktop, navigate to the Windows Logo located at the lower left hand corner of the Edge DESKTOP screen and then select “Log Off xxxx” (whatever account you have been assigned) .
Web Portal
-
If you wish to access your account using the web browser, select this hyperlink: na.cloud.sds2.com.
-
Enter the User ID #1 and Password login credentials provided by SDS2. If more than one account was assigned to you, the other user(s) may log in using any of the other User ID’s and Passwords supplied to collaborate with you using the shared data repository.
-
Select the icon located on the next screen to access the account.
-
The next screen will be your Windows 10 virtual PC desktop. Under Programs, select and open the version of SDS2 you wish to run. If you wish to upload one of your own models, please refer to File Manager Documentation.
-
When you have finished, simply Logoff using the Windows 10 icon in the lower left-hand corner of the virtual desktop and you will be returned to your local environment.