SAF Import
This tool must be downloaded from SDS2 Toolbox and installed in order to use it.
- Step-By-Step
- Tips and Tricks
- Related Tools
1 . Click the SAF Import icon, which is pictured above. The icon can be found on the Toolbox page.
2 . The SAF Import window appears.

2a . Browse to the SAF file you are importing.
2b . Set the thresholds for the Shear, Axial, and Moment loads to be imported.
Note: If the SAF file includes loads that are larger than the threshold, those load will be imported for the member(s).
2c . Set the Moment type and Connection Type. Click Next.
Note: When a moment load is imported for a beam, the end of the member with the load receives the Moment type and Connection Type. All beams that import moment loads will use the specified settings.
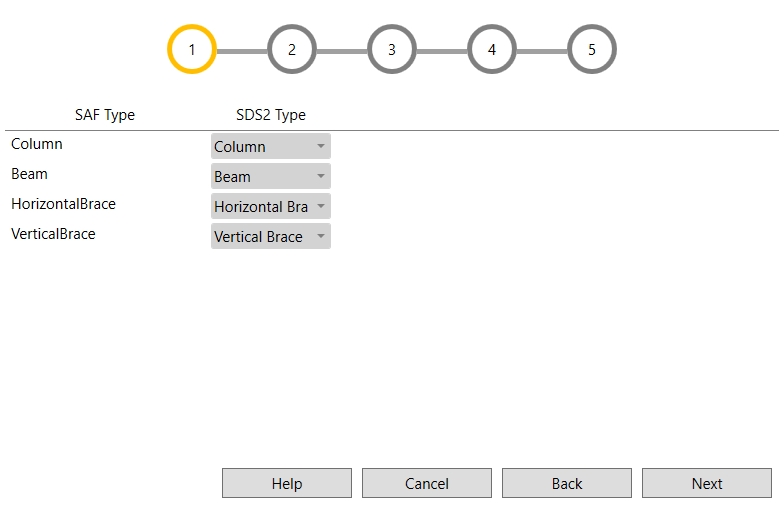
3 . Map the SAF type to the correct SDS2 member type. Click Next.
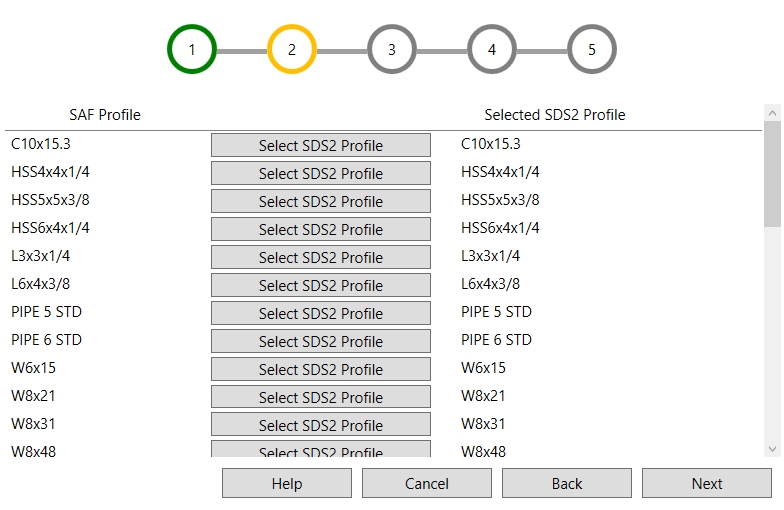
4 . Map the SAF Profile to the correct SDS2 section size. To change the SDS2 section size, select the "Select SDS2 Profile" button. Click Next.
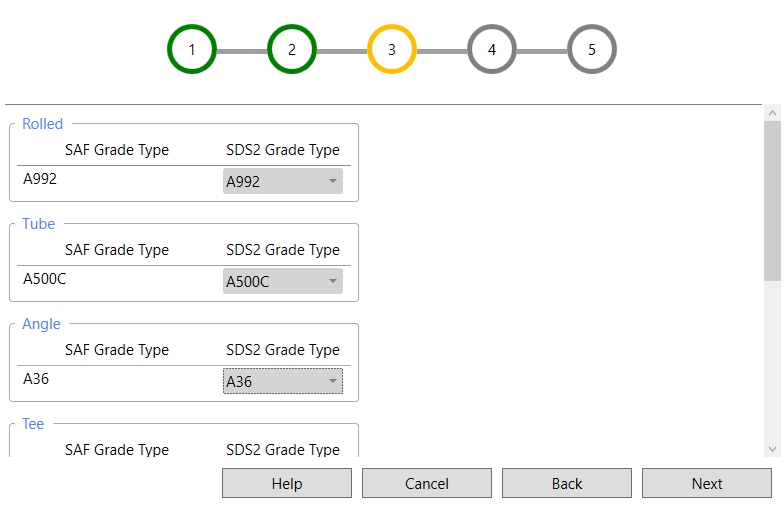
5 . Map the SAF Grade Type to the correct SDS2 Grade Type. Click Next.
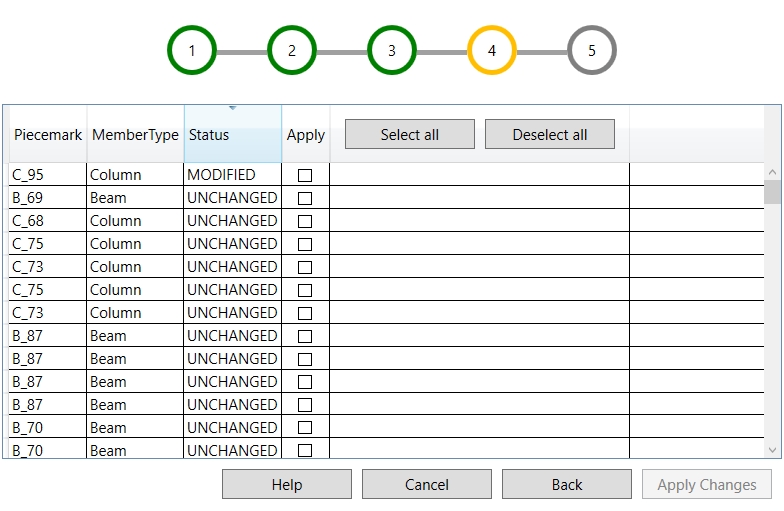
6 (optional) . If you are importing into a project that has previously imported an SAF file and there are changes to one or more members, you will get this change screen. Check (  ) Apply (or select all) to apply the changes to the existing model. Click Apply Changes.
 ) and setting the criteria.
Note: Members can be moved, changed, or deleted as a result of importing a file. If no changes are made on the import, Apply Changes is grayed out and you cannot run the import again.
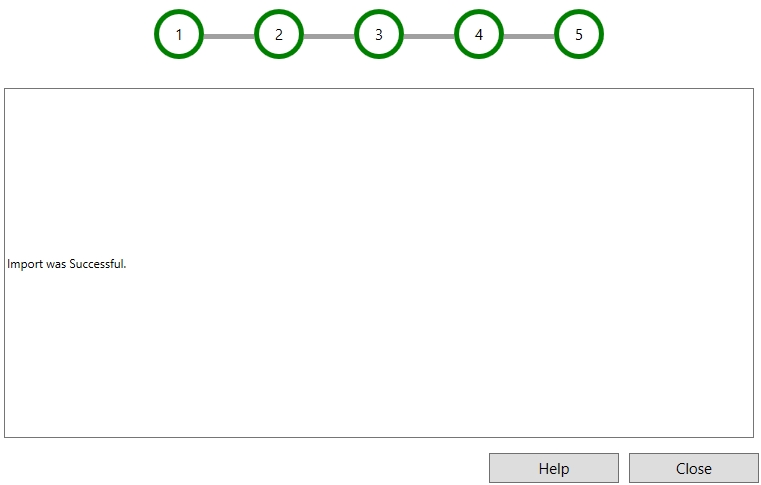
7 . The model is imported when you select close.