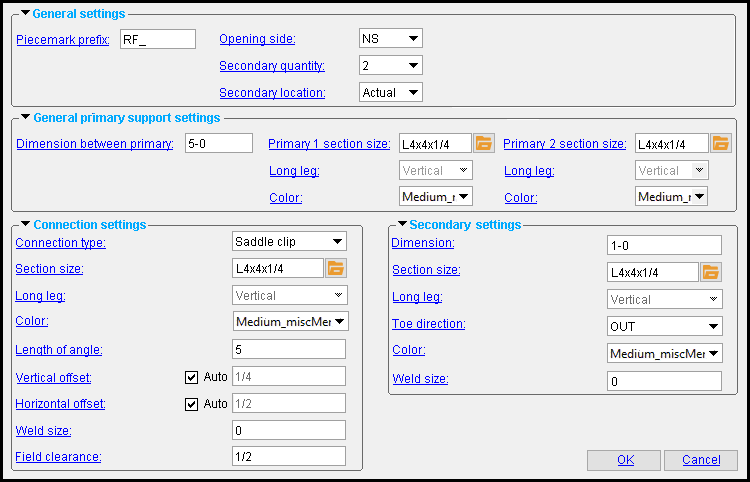
The Roof Frame Setup window
| VIDEO
|

|
Setup options for a roof frame member are demonstrated by showing the default weld settings for one such member, then changing setup, then restarting Modeling and adding a new roof frame that uses the revised weld settings from setup.
|
|

- Links on the above screen shot take you to the documentation for the Roof Frame Edit window in Modelin g, or they take you to documentation on this page.
- When you add a new roof frame in Modeling , the Roof Frame Edit window is populated with settings from this window. Thereafter, during that same Modeling session, each subsequently added roof frame will use the settings from the roof frame that was last added or last edited.
- Color settings on the Roof Frame Setup window cannot be overridden on the Roof Frame Edit window in Modeling . To change that color in Modeling , you need to change its " Color " on the Rolled Section Material window. Changing a roof frame material's color on that material's edit window does not make the material graphical.
- Steel grade options do not appear on this window. This is because the top line on the steel grades setup window is the default steel grade. For example, if the user in Modeling sets the primary 1 section size to be a channel, the steel grade that is selected by default is first line from the Channel Grades setup window. On the Roof Frame Edit window in Modeling , users can reset the steel grade to a choice other than the default.
home > project settings > job > plugin defaults > member plugin defaults > | top
To close Roof Frame Setup :


"OK" (or the Enter key) closes the Roof Frame Setup window and saves the settings on it to the Job Settings file loaded with your current Job . These options are applied the next time you add a roof frame member.
"Cancel" (or the Esc key) closes this window without saving any changes made to it.
home > project settings > job > plugin defaults > member plugin defaults > | top


