 Dimension Add Horizontal ( Drawing Editor )
Tool summary :
Also see :
- Drawing Editor (where Dimension Add Horizontal is a tool)
- Edit Dimension (window for editing dimensions)
- Comment layer (type of layer dimension is added to on a non crane placement drawing)
- Crane placement drawing (an erection view created and detailed in Site Planning)
- Adding extension dimensions (optional for Dimension Add Horizontal )
- Add Dimension (alternative way to execute Dimension Add Horizontal )
- The parts of a dimension (terms used to describe dimensions)
contents | objects > dimensions > | objects -- dimensions | xxx add | dimensions
 Setup and defaults :
Setup:
- Dimension terminals (arrows or slashes)
- Confirm adding of dimensions ( User and Site Options > Drawings > )
- Expand dimensions less than or equal to
- Material point dimension holdback distance
Defaults for user-added dimension labels:
contents | objects > dimensions > | objects -- dimensions | xxx add | dimensions | top
 Step-by-step instructions :
The following instructions assume that you are using a 3-button mouse and that User and Site Options > Drawings > " Confirm adding of dimensions " is off (not checked).
1 . Before using this tool:
1a (optional) : Either allow the program to select a layer of its choosing -- or -- on the layer selection tool , select the layer you want to add the dimension to. You can add objects to non-comment layers only if your current drawing is a crane placement drawing .
2 . Invoke Dimension Add Horizontal using any one (1) of the following methods:
Method 1 : Click the Dimension Add Horizontal icon. The icon can be taken from the group named ' Objects -- Dimensions ' and placed on a toolbar (classic) or the ribbon (lightning).
Method 2 : If " Drawing Editor layout style " is ' Classic ', you can use the menu system to choose Objects > Dimensions > Add Horizontal .
Method 3, 4 or 5 : Dimension Add Horizontal can also be invoked using a keyboard shortcut , the context menu , or a mode . For the ' Lightning ' layout style, configuration of the interface is done using Customize Interface .
3 . Locate - Remove - Return mouse bindings become active.
|
|
|
bindings |
|
3a : Select the Locate icon that you want (if it's not pressed already).
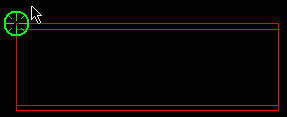
3b : Position the mouse pointer (
) so that the point location target (
) snaps to the point you want to measure from , then left-click ( Locate ).
4 . An X appears at the point located in step 3. This X marks the base of the dimension leg .
|
|
|
bindings |
|
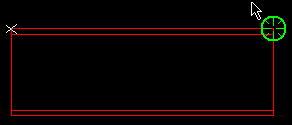
4a : Position the mouse pointer (
) so that the target (
) snaps to the point you want to measure to , then left-click ( Locate ).
4b (optional) : You may now optionally left-click ( Locate ) more points if you want to add a dimension chain. If you locate too many points, middle-click ( Remove ) to remove the last point located.
4c : When you are done locating points for dimensioning, right-click ( Return ).
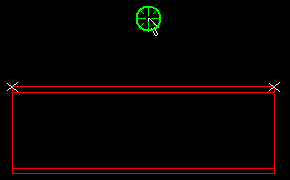
5 . The status line prompts you to " Locate dimension line ..." and shows the calculated distance between the located points. Locate- Pan -Return mouse bindings become active.
|
|
|
bindings |
|
5a : Left-click ( Locate ) at any point through which you want the dimension line to be drawn. This point also sets the length of the dimension legs .
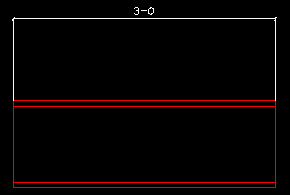
6 . A dimension or dimension chain is drawn on screen. Assuming that User and Site Options > Drawings > " Confirm adding of dimensions " is off (not checked), Locate - Remove - Return mouse bindings become active again so that you can optionally add more dimensions.
|
|
|
bindings |
|
Alternative 1 : Add more dimensions or dimension chains by following these instructions beginning with step 3 .
Alternative 2 : If you are done adding dimensions, right-click ( Return ).
Tip: Dimensions or dimension chains added using this procedure can be quickly removed (one chain at a time, in reverse-order of their addition) by using Undo .
contents | objects > dimensions > | objects -- dimensions | xxx add | dimensions | top


