Step 10c: Erection Views to Erection Sheets
On this page :
- Purpose of erection sheets
- Developing an erection sheet outline
- To create an erection sheet
- Sheet Item Add to add an erection view
- Adding an erection view as a job standard detail
Also see :
- 2D erection views
- Plotting sheets
- Rename Project Items (utility can rename erection sheets)
- Delete Project Items (utility can delete erection sheets)
Purpose of erection sheets :
page 1 | contents | overview | top
Developing an erection sheet outline :

|
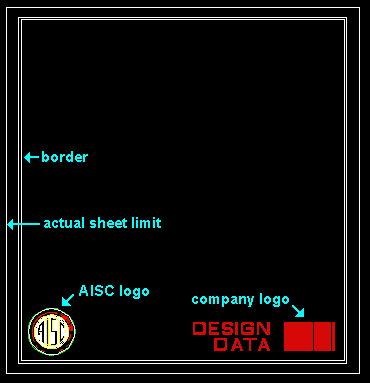
An example of a sheet outline that is used as a template for erection sheets. Notice that this sheet outline has logos and a border, but not a bill of material. |
page 1 | contents | overview | top
To create an erection sheet:
Refer to the New Drawing command.
page 1 | contents | overview | top
Sheet Item Add to add an erection view :
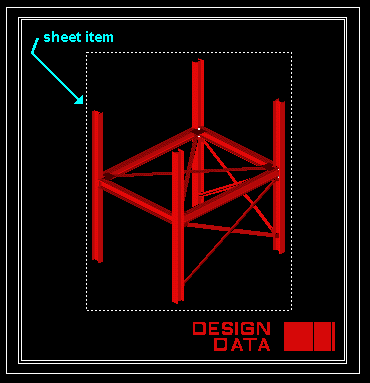
- Before erection views are printed, they are typically placed onto erection sheets. This can be done using Objects > Sheet Items > Add in the Drawing Editor . Shown below is an erection view that has been placed directly onto an erection sheet using Sheet Item Add .

|
The big advantage of placing an erection view as a sheet item is that any changes made to the erection view (including its redetailing or changes in its piecemarks) are automatically updated on the sheet. |

|
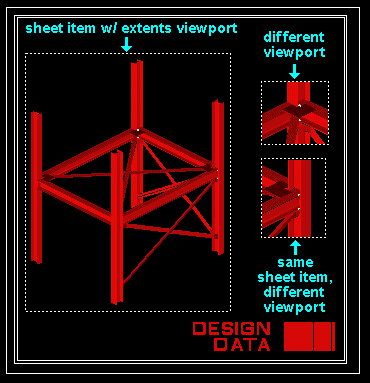
More than one erection view can be placed as a sheet item on the same sheet, and each sheet item can have a different " Viewport " and a different " Scale " as shown in this example. The insets to the right of the sheet item that uses the ' Extents ' viewport are drawn at a larger scale to emphasize details that might have been otherwise missed. |
page 1 | contents | overview | top
Adding an erection view as a job standard detail :
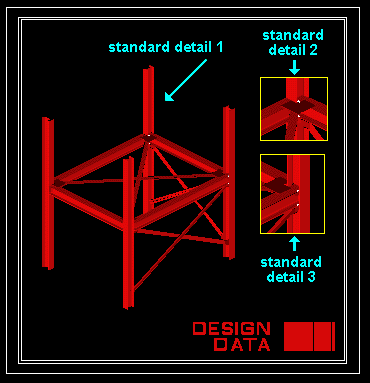
- An alternative way to add erection views to erection sheets is to add them as job standard details. You can do this by using Edit > Save Standard Detail (again, in the Drawing Editor ) to create a job standard detail of an erection view and then place it on the erection sheet using File > Add Standard Detail .

|
The insets with the yellow borders in this illustration were created by using Edit > Clip , then using Edit > Save Standard Detail to save them as job standard details. Note that a similar effect was more easily created in the example above , by adding the same drawing as a sheet item three different times. |


