Rename Project Items
- Step-By-Step
- Tips and Tricks
- Related Tools
1. Select Rename Project Items in Home > Utilities > Utility Functions > Rename > Rename Project Items
2. The Rename Project Items window opens. On it is a list of project items that can be renamed.
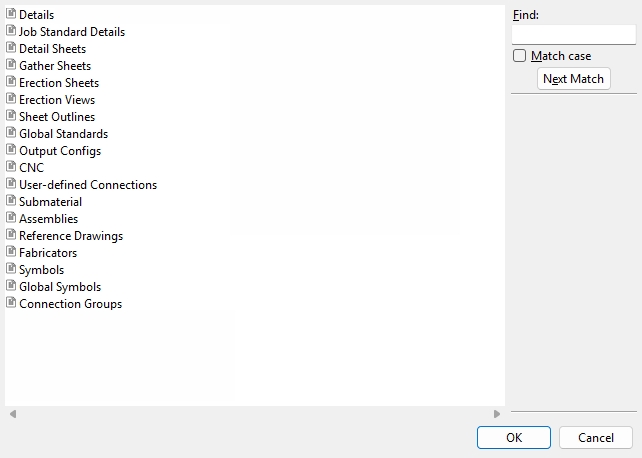
3. Select the item type you want to rename and select the Enter key or the OK button.
Alternative: Press Esc or the Cancel button to cancel the command without renaming any items at any time.
4. Select the item(s) you want to rename, then press the Enter key or the OK button.
5. A Rename Project Items window opens for each of the files you selected in step 4. The Original name identifies the item selected in step 4. The New name is the name you want to give to the item, select the Enter key or the OK button.

5. The Rename Project Items opens, allowing you to continue renaming project items beginning at step 2.
- The file names of most items can be up to 61 characters in length.
- When you change a file name using this utility, all references to that item are changed.
- If the setup option
 Use member mark for member main material in model is checked, submaterial marks of member main materials will not be listed as Submaterial since that setup option ties the main material mark to the member mark. To change the mark of a main material when setup requires it to have the same mark as the member piecemark, you need to change the member piecemark.
- For output configurations and global standard details, all references to that file name are changed in all Jobs in the data directory used by the version of SDS2 you are currently using.

