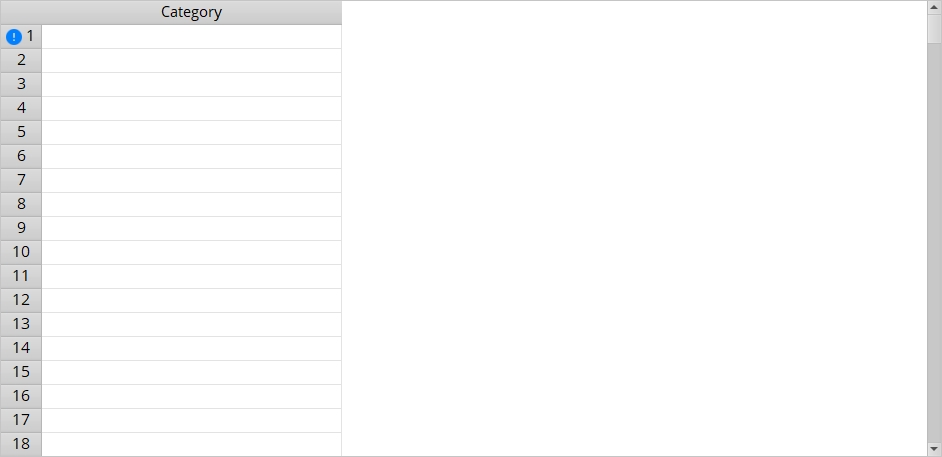
The Category Settings window

Also see :

page 1 | contents | home > project settings > fabricator > | classic


   Step-by-step instructions :

1 . To open the Category Settings window, use any one (1) of the following methods:

Methods 1, 2 & 3 : In Modeling or the Drawing Editor , choose Settings > Fabricator Settings > Category Settings (classic), or use a keyboard shortcut (if one has been set up), or click the icon.

Method 4 : Home > Project Settings > Fabricator > Category Settings .

2 . Once the Category Settings window opens, you may: a) add a new category (up to 255 are allowed); b) change (edit) a category that is currently listed; c) erase a currently listed category. Use the up/down arrow keys, the Tab key or Shift + Tab to move from one cell to another. Cut ( Ctrl+x ), copy ( Ctrl+c ) and paste ( Ctrl+v ) are available as keyboard shortcuts for individual cells on this table. You can also right-click a cell to get a menu with the options " Cut " " Copy " and " Paste ."

2a (optional) : To add a category to the Category Settings window, click the first empty line. Type in a category name (for example, $xx.00/ft), then press Tab to go on to the next cell. Up to 255 categories, each with up to 39 characters, are allowed. Tip: The category entered to line 1 is assigned by default to all members in your Job. You may want to leave line 1 blank or type something like "Default" or "Not Set" or "None".

2b (optional) : To edit a category already on the Category Settings window, double click in the cell whose contents you want to change so that the previous entry is highlighted. Type in the revised category (e.g. $xx.00/hr). A reminder: line 1 will be assigned by default to members.

2c (optional) : To erase a category from the Category Settings window, double click in the cell whose contents you want to change so that the previous entry is highlighted. Press the Backspace key to erase the previous entry.

3 . When you are done making changes to the Category Settings window, use the buttons on the bottom of the window to close the window or undo your changes.

"OK" (or the Enter key) closes this window and saves any changes you have made to it. See below for instructions on how to apply to members the categories you have entered on this window.

"Cancel" (or the Esc key or the button) closes this window without saving any changes.

"Reset" undoes all changes made to this window since you first opened it. The window remains open.

page 1 | contents | home > project settings > fabricator > | classic | top


   To apply categories to members :

Method 1 : Enter the category to " Member category " on the Member Status Review window. You can optionally apply this same category to all members with the same piecemark after you press " OK " to exit the member edit window.

Method 2 : Use Update Attributes to apply categories to groups of members.

page 1 | contents | home > project settings > fabricator > | classic | top


   To track members by category :

Method 1 : Use Modeling > Status Display > Member status > Category to set display colors for members that have been assigned particular categories.

Method 2 : Use the categories to classify members in the Sheet Loading Report .

Method 2 : Use the Estimating/Production Interface to generate a download of bill of material information that includes any category definitions applied to member main material.

Method 4 : Check the box for " Category " to output category information to a Status Report by Detail or etc.

page 1 | contents | home > project settings > fabricator > | classic | top