 Hatching Erase ( Drawing Editor )
Tool summary :
Also see :
- Drawing Editor (where Hatching Erase is a tool)
- Polygons (hatch lines are a part of certain polygons)
- Show cross hatching (setup option for automatic detailing)
- Show cut surface hatching (setup option for automatic detailing)
- Undo (undoes Hatching Erase )
- Hatching Explode (turns hatch lines into lines so that you can edit the lines)
page 1 | contents | objects > polygons > | objects -- polygons
 Step-by-step instructions :
|
1 . Invoke Hatching Erase . | |||
|
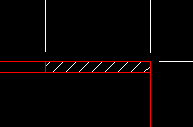
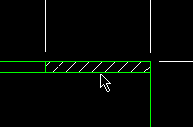
2 . The status line prompts, " Select polygons ." Select the material polygon that contains the hatching (so that the polygon turns green), then press the Enter key. | |||
|
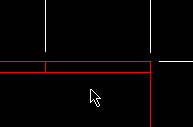
3 . The hatch lines (/ / /) are erased. The selected polygon that the hatch lines were removed from remains a single polygon. |
Method 1 : Click the Hatching Erase icon. The icon can be taken from the group named ' Objects -- Polygons ' and placed on a toolbar (classic) or the ribbon (lightning).
Method 2 : If " Drawing Editor layout style " is ' Classic ', you can use the menu system to choose Objects > Polygons > Hatching Erase .
Method 3, 4 or 5 : Hatching Erase can also be invoked using a keyboard shortcut , the context menu , or a mode . For the ' Lightning ' layout style, configuration of the interface is done using Customize Interface .
Note 1: You can optionally select the material polygon that contains the hatch lines before you invoke Hatching Erase . If you do this, skip step 2.
Note 2: After you have erased polygons, you can undo your changes by using Revert or Undo . If you Save to make your changes permanent, you will no longer be able to Revert , but you can still Undo .
Note 3: In step 2, you can right-click ( Menu ) and choose " OK " on the context menu instead of pressing Enter . Also in step 2, you can cancel the operation in two ways: press the Esc key, or right-click ( Menu ) and choose " Cancel " on the context menu.


