 Hatch Add Define Polygon ( Drawing Editor > h d )
Tool summary :
Also see :
|
- Drawing Editor (where you can add a hatch)
- Hatches & fills (topic)
- Hatch Add Select Polygon (alternative method for adding hatches)
- Hatch Add (window with settings for a hatch or fill)
- Hatches/Fills ( Display Options )
- Polygon sides (polygons created with this tool are composed of)
page 1 | contents | objects > hatch > | objects -- hatch | xxx add | hatches & fills
 Adding a hatch pattern to a user-defined polygon :
You can use Hatch Add Define Polygon to add a hatch or fill to a shape that you define. You can define that shape by using the method defined in step 2, alternative 1 (drawing an area box) or step 2, alternative 2 (locating points).

|
1 . Invoke Hatch Add Define Polygon . Go to step 2, alternative 1 or alternative 2. |
|
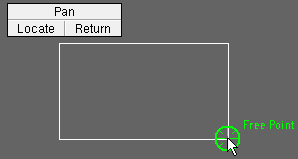
2 (alternative 1) . Drag your mouse pointer ( |
|
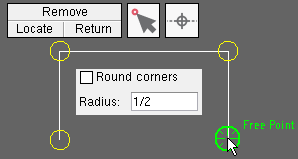
2 (alternative 2) . Left-click ( Locate ) points to draw a shape. In this example, Free Point and On Line are used for point location. Corner Rounding is optional. Right-click ( Return ) when you are done locating points. Hatch Add closes the polygon by connecting the last located point to the 1st point. Go to step 3. |
|
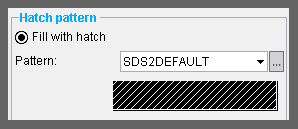
3 . The Hatch Add window opens. Specify the hatch pattern or solid color that you want to fill the polygon. Press " OK " to continue. |
|
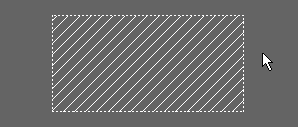
4 . Hatch Add fills the polygon that you defined in step 2 (alternative 1 or alternative 2) with the hatch pattern or solid color that you specified in step 3. |
Note 1: To invoke Hatch Add Define Polygon :
Method 1 : Click the Hatch Add Define Polygon icon. The icon can be taken from the group named ' Objects -- Hatch ' and placed on a toolbar (classic) or the ribbon (lightning).
Method 2 : If " Drawing Editor layout style " is ' Classic ', you can use the menu system to choose Objects > Hatches > Add Define Polygon .
Method 3, 4 or 5 : Hatch Add Define Polygon can also be invoked using a keyboard shortcut , the context menu , or a mode . For the ' Lightning ' layout style, configuration of the interface is done using Customize Interface .
Note 2: The Corner Rounding options (step 2, alternative 2) remain available throughout a polygon layout operation, allowing you to define different radiuses for different corners, or to turn corner rounding on or off for different corners. For the ' Classic ' layout style, the Corner Rounding window automatically closes when you are done with the operation. For the ' Lighting ' layout style, the Corner Rounding section remains on the Layout ribbon page until you are finished with point location.
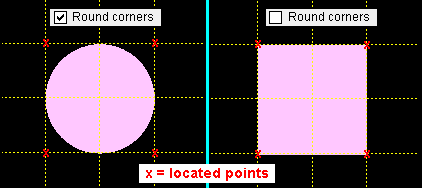
Two fills added using Hatch Add Define Polygon . Corner rounding was turned on for the left example. The radius for corner rounding was 1/2 the distance of any side of the square, which thus resulted in a circle. Note 3: The defined polygon shape that is created using the above procedure is composed of polygon sides . You can edit them and, for example, change their " Pen color " (stroke thickness) and " Line type ."
Note 4: A defined polygon shape added using Hatch Add Define Polygon can be adjusted as shown below:
With the selection filter set to '' Default : 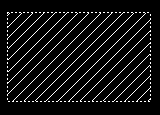
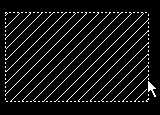
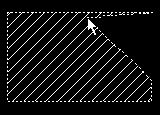
1 . The defined polygon shape is rectangular. 2 . Click a polygon side to add a new point. 3 . Drag the point in any direction to change the shape of the polygon. Note 5: A defined polygon shape added using Hatch Add Define Polygon can optionally be not printed. See " Plot defined polygon " on the Hatch Edit window.
Plot defined polygon

Plot defined polygon

To delete hatches or fills, Hatch Erase and Hatch Erase All can be used. With the selection filter set to ' Hatches ', you can select a hatch (independent of its containing polygon) and press the Delete key. For hatches added using Hatch Add Define Polygon , deleting the hatch also deletes the defined polygon.
page 1 | contents | objects > hatch > | objects -- hatch | xxx add | hatches & fills | top


