 Hole Group Move Command
- Step-By-Step
- Tips and Tricks
- Related Tools
1 . Preselect a hole to enable the Holes contextual page and click the Hole Group Move icon found in the Modify section. Skip step 2.
Alternative : Invoke Hole Group Move using the Find Tool by searching the command name and clicking the Hole Group Move icon, which is pictured above. Proceed to step 2.
Learn more about alternative methods for launching commands.
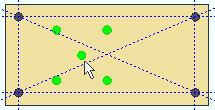
2 . The status line prompts, "Select hole:". Select - Pan - Menu mouse bindings become active. Select any one hole in the hole group, and the entire group will be selected.
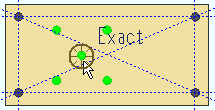
3 . The status line prompts, " Locate a reference point :" Locate- Pan -Return mouse bindings become active.
Alternative 1 : Move your mouse pointer (
) so that the point location target snaps to where you want the reference point, then left-click ( Locate ).
Alternative 2 : Right-click ( Return ) to end the command.
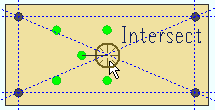
4 . The status line prompts, " Locate second point :" Locate- Pan -Return mouse bindings become active.
Alternative 1 : Move your mouse pointer (
Alternative 2 : Right-click ( Return ) to end the command.
5 . A preview of the hole group move is shown in Modeling. Yes - No mouse bindings become active and the status line prompts, " Confirm move ."
Alternative 1 : Left-click ( Yes ) to accept the new placement of the hole group. This ends the command.
Alternative 2 : Right-click ( No ) to end the command. The holes will not be moved.
- Add Hole
- Hole Match
- Hole Edit
- Hole Edit window
- Hole Erase
- Hole Move
- Hole - Set reference point
- Hole Properties
- Display Options (toggle the 3D display of holes in Modeling)
- 3D holes (about holes in Modeling)
- Important information about 3D holes (topic)
- Preselection modes & in-tool selection modes
- Selection filter

