Custom Properties (modular)
- General Overview
- Step-By-Step
- Tips and Tricks
- Related Tools
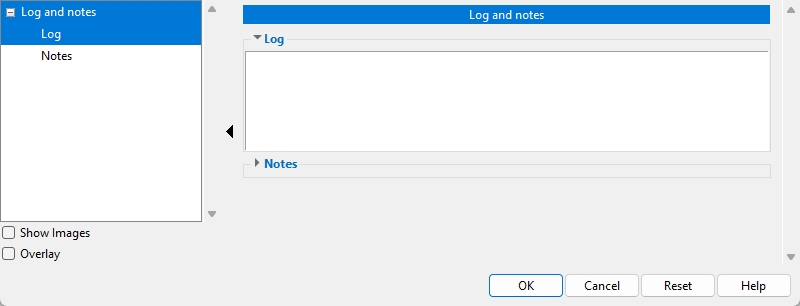
 Log
Log
Classes of events that can be logged are Job events, member events, material events, bolt events, weld events, hole events.
The Event Logging Setup window sets what information is logged. That is, it turns event logging on/off for your entire site for specific categories of recordable events.
Once an event has been logged, it stays logged until the event log is cleared using the Delete Event Logging utility. Turning event recording off using Event Logging Setup does not clear a log. To clear a log, you need to use the Delete Event Logging utility.
Events that are logged include the date of the event (2015-08-05), military time-GMT offset (14:08:55-0600), SDS2 software version (2015.05), log-in name of the person who made the change (dave), and the event (Member processed).
Some special cases: Hole events such as the adding, deleting or editing of a hole are recorded to the material log. The deletion or undeletion of members is recorded to the Job log. More special cases are noted in the documentation for the Event Logging Setup window.
| Data class | Path in Report Writer |
| current Job | CurrentLocation.JobCustomProperties.Log |
| member | Member.CustomProperties.Log |
| material | MemberMaterial.Material.CustomProperties.Log |
| hole | MemberMaterial.Material.SubMaterial.
Hole.CustomProperties.Log |
| bolt | MemberMaterial.Bolt.CustomProperties.Log |
| weld | MemberMaterial.Weld.CustomProperties.Log |
# Prints the event log of the member that the user selects.
from member import MemberLocate, MemberProperties
from param import ClearSelection
mem1 = MemberLocate("Select a member")
mem_log = MemberProperties(mem1)
print(mem_log['Log'])
ClearSelection()
# Prints the log of the material that the user selects.
from mtrl_list import MtrlLocate, MtrlProperties
mtrl = MtrlLocate("Select a material", "Single")
material_log = MtrlProperties(mtrl)
print(material_log['Log'])# Prints the event log of your current Job.
from job import JobProperties
job_log = JobProperties() # no argument, current Job
print(job_log['Log'])
Notes
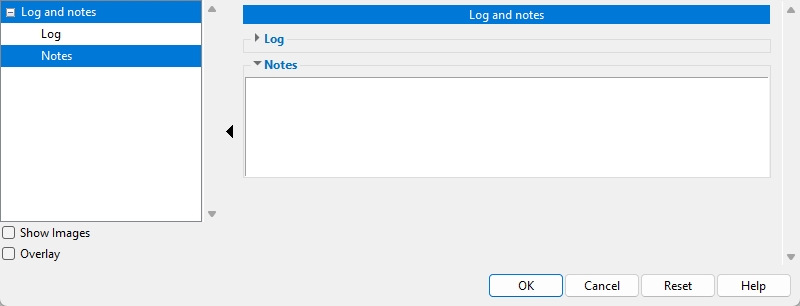
Type in any notes that you want applied to the item (Job, member, material, hole, bolt, weld) that you are editing.
| Data class | Path in Report Writer |
| current Job | CurrentLocation.JobCustomProperties.Notes |
| member | Member.CustomProperties.Notes |
| material | MemberMaterial.Material.CustomProperties.Notes |
| hole | MemberMaterial.Material.SubMaterial.
Hole.CustomProperties.Notes |
| bolt | MemberMaterial.Bolt.CustomProperties.Notes |
| a | MemberMaterial.Weld.CustomProperties.Notes |
| Data class | In Status Display, choose: |
| member | Member status > Member notes |
| material | Material status > Material notes |
# Prints the user notes of the member that the user selects.
from member import MemberLocate, MemberProperties
from param import ClearSelection
mem = MemberLocate("Select a member")
mem_note = MemberProperties(mem)
print(mem_note['Notes'])
ClearSelection()
# Prints the user notes of the material that the user selects.
from mtrl_list import MtrlLocate, MtrlProperties
mtrl = MtrlLocate("Select a material", "Single")
mtrl_note = MtrlProperties(mtrl)
print(mtrl_note['Notes'])# Prints the user notes of your current Job.
from job import JobProperties
job_note = JobProperties() # no argument, current Job
print(job_note['Notes'])# Writes a "Note" for the member that the user selects.
from member import MemberLocate, MemberPropertySet
from param import ClearSelection
mem1 = MemberLocate("Select a member")
MemberPropertySet(mem1, "Notes", "Refer to RFI 32")
ClearSelection()# Writes a "Note" for the material that the user selects.
from mtrl_list import MtrlLocate, MtrlPropertySet
mtrl = MtrlLocate("Select a material", "Single")
MtrlPropertySet(mtrl, "Notes", "ABM page-line 14-2")# Writes a "Note" for the current Job.
from job import JobPropertySet
JobPropertySet("Notes", "Note RFIs 22, 32, 43.")
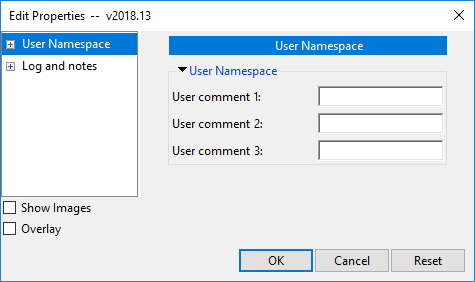
Custom Properties
No custom properties appear on this window if they have not been added to a ![]() User Namespace leaf using the Add/Edit Schema window, or if their plugin has not been activated at Home > Project Settings > Job > Custom Properties > Activate Custom Properties.
User Namespace leaf using the Add/Edit Schema window, or if their plugin has not been activated at Home > Project Settings > Job > Custom Properties > Activate Custom Properties.
Custom properties appear on this window under a ![]() User Namespace leaf if they have been added to the Add/Edit Schema window.
User Namespace leaf if they have been added to the Add/Edit Schema window.
|
In this |
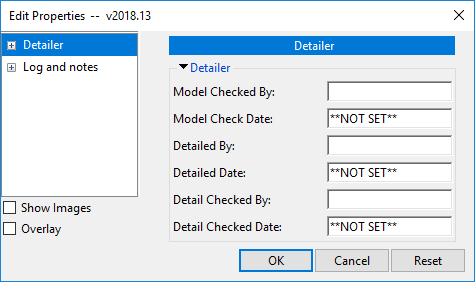
Custom properties appear on this window under a ![]() Different leaf if the appropriate plugin Type was activated at Home > Project Settings > Job > Custom Properties > Activate Custom Properties or by using the Merge Schema into Current Job utility.
Different leaf if the appropriate plugin Type was activated at Home > Project Settings > Job > Custom Properties > Activate Custom Properties or by using the Merge Schema into Current Job utility.
|
In this example, member custom properties are shown under a leaf named |
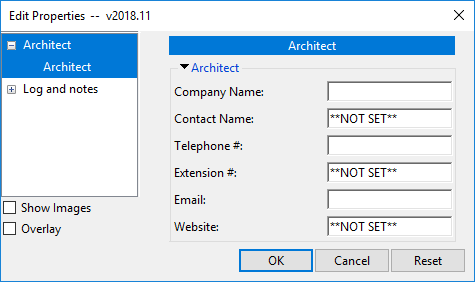
|
In this example, job custom properties are shown under a leaf named |
Show Images: Displays images when checked (  ) if they are included in the activated plugin.
Overlay: Displays one leaf at a time when checked ( ). When you select a leaf, either from the tree on the left or from inside the window itself, all other leaves collapse.
![]()
![]()
![]()
Save (or the Enter key) closes the Edit Properties window and saves the settings on it to your current Job.
Cancel (or the Esc key) closes this window without saving any changes that you have made.
Reset undoes all changes made to settings on this window since you first opened it. The window remains open.
For members:
For group members:
For materials:
For bolts:
For holes:
For welds:
For your current Job:
| Data class | Path in Report Writer |
| current Job | CurrentLocation.JobCustomProperties |
| member | Member.CustomProperties |
| material | MemberMaterial.Material.CustomProperties |
| hole | MemberMaterial.Material.SubMaterial.
Hole.CustomProperties |
| bolt | MemberMaterial.Bolt.CustomProperties > |
| weld | MemberMaterial.Weld.CustomProperties |
| Data class | In Status Display, choose: |
| member | Member status > Member custom property |
| material | Material status > Material custom property |
# Prints the entry to the member property named 'Painted'.
from member import MemberLocate, MemberProperties
from param import ClearSelection
mem = MemberLocate("Select a member")
mem_prop = MemberProperties(mem)
print(mem_prop['Painted'])
ClearSelection()
# Prints the entry to the material property named 'GALV'.
from mtrl_list import MtrlLocate, MtrlProperties
mtrl = MtrlLocate("Select a material", "Single")
mtrl_prop = MtrlProperties(mtrl)
print(mtrl_prop['GALV'])# Prints entries to Job properties named 'Architect', 'EOR'.
from job import JobProperties
job_prop = JobProperties() # no argument, current Job
print("Architect: ", job_prop['Architect'])
print("Engineer: ", job_prop['EOR'])# Enters "John Doe" to member property "modeled_by".
from member import MemberLocate, MemberPropertySet
from param import ClearSelection
mem1 = MemberLocate("Select a member")
MemberPropertySet(mem1, "modeled_by", "John Doe")
ClearSelection()
# "modeled_by" must be a member property for this to work# Enters "True" ( ) to boolean material property "GALV".
from mtrl_list import MtrlLocate, MtrlPropertySet
mtrl = MtrlLocate("Select a material", "Single")
MtrlPropertySet(mtrl, "GALV", "True")
# "GALV" must be a material property for this to work# Enters "Sparky Silvershoes" to Job property "EOR".
from job import JobPropertySet
JobPropertySet("EOR", "Sparky Silvershoes")
# "EOR" must be a Job property for this to work# Selects members with John Doe entered to "modeled_by".
m.CustomProperties["modeled_by"] == "John Doe"# Selects members with 1 1/4 entered to "parametric_offset".
m.CustomProperties["parametric_offset"] == 1.25# Selects materials checked ( ) for "GALV".
mt.CustomProperties["GALV"] == True- Edit Schema
- Activate Custom Properties
- Event Logging Setup
- CustomProperties (Python module for parametrics)
- Special Label for Job Custom Property

